Pantry Organization Bins and Containers
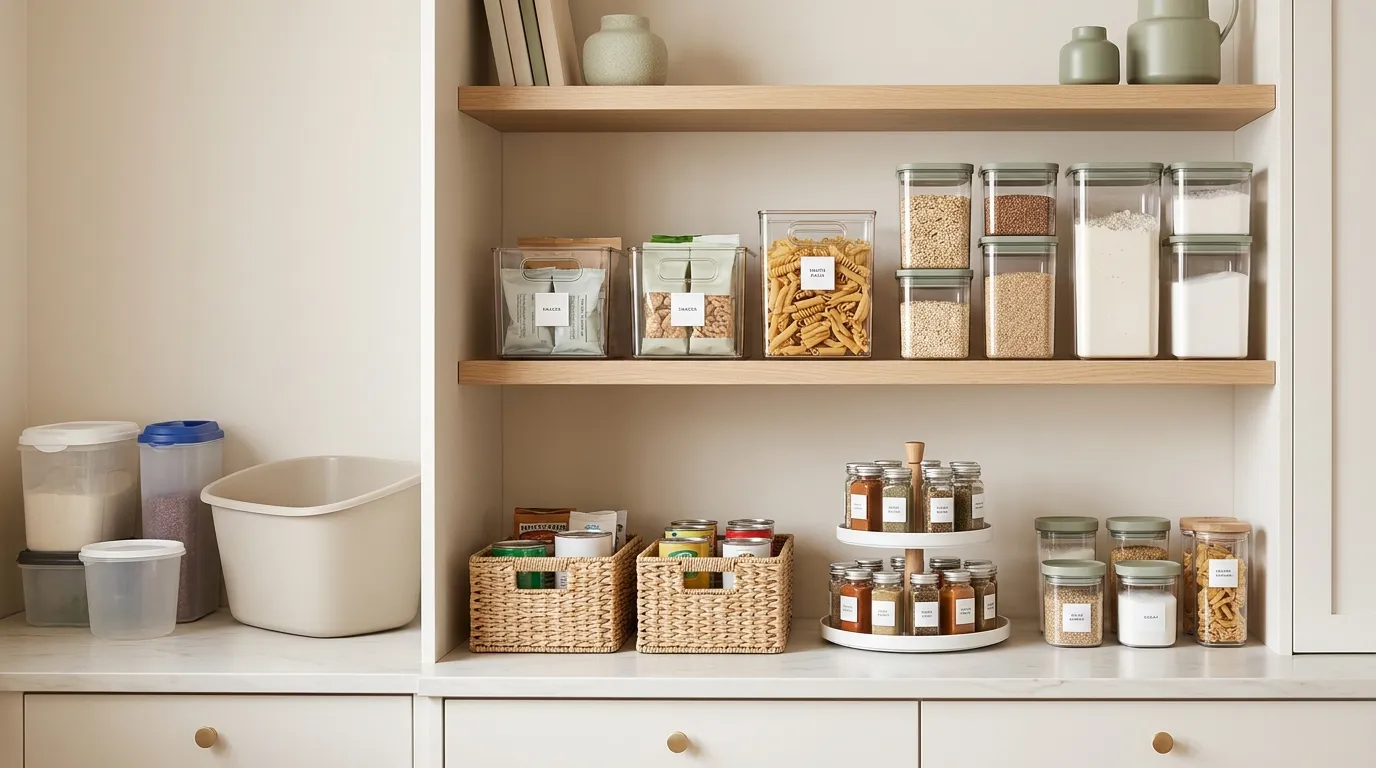
Table of Contents
What are the best containers for a pantry? The most functional pantry storage uses clear, straight-sided acrylic bins for category grouping (like snacks and pouches) and airtight clear canisters for decanted dry goods (flour, pasta, rice). Avoid opaque baskets for food storage—they hide what you have and lead to buying expensive duplicates.
Walk down the organization aisle of any major retailer, and you will be bombarded with beautiful wicker baskets, heavy ceramic crocks, and stylish fabric storage cubes. They look like the perfect solution for a messy kitchen.
They fail in practice.
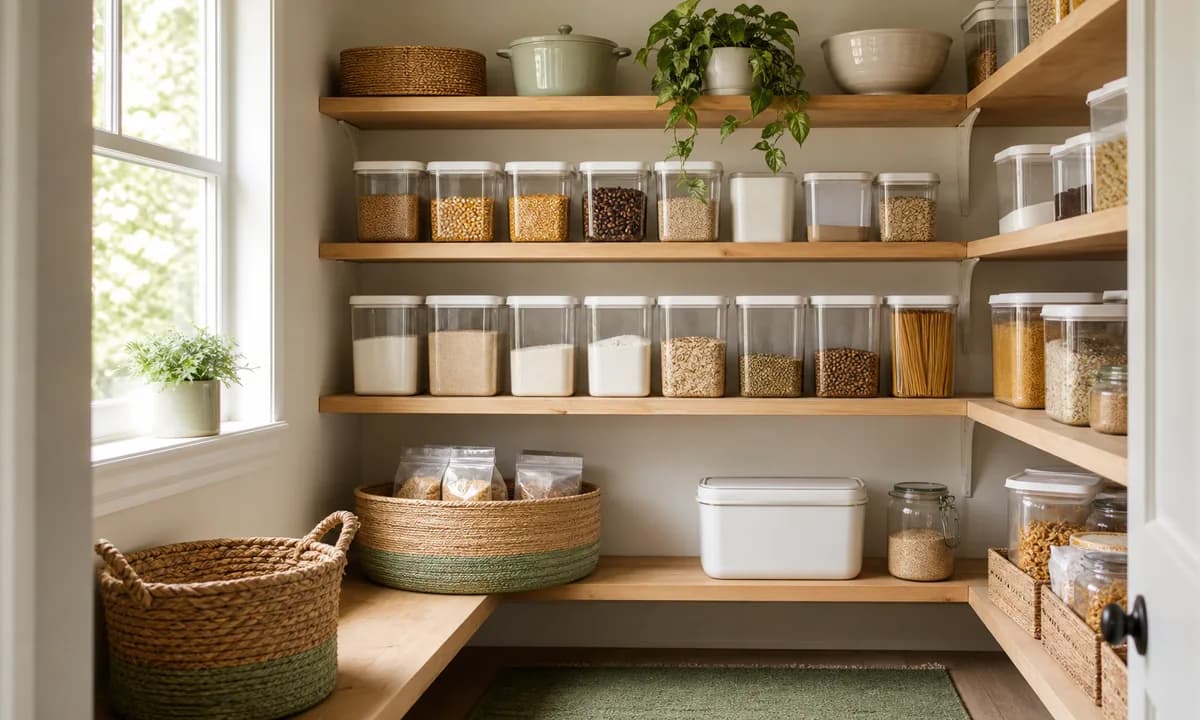
The golden rule of kitchen storage is simple: for food, clear always wins. Opaque containers hide your inventory. If you cannot see how many granola bars you have left without physically pulling a heavy basket down from a high shelf, you will inevitably forget about them until they expire. Save the decorative woven baskets for organizing your bedroom closets or storing extra toilet paper, not your food.
Here is a breakdown of the specific types of pantry bins that actually work, and how to use them.
1. Clear Stackable Bins (For Category Grouping)
These are the absolute workhorses of modern pantry organization. Instead of lining individual snack bags or condiment packets loosely on a shelf, you drop them into a clear bin. You use one bin per food category. When you need a snack, you slide the entire bin out like a drawer.
What to look for:
- Rectangular Shape: Square and rectangular bins sit flush against each other. Round bins waste massive amounts of dead space between them.
- Straight Sides: Avoid bins that taper heavily at the bottom; they reduce your storage capacity.
- Clear Visibility: Ensure the plastic is highly transparent, not frosted.
Expert Picks: mDesign Clear Bins, Sterilite Stackable Containers, or The Home Edit collection.
2. Airtight Canisters (For Decanted Dry Goods)
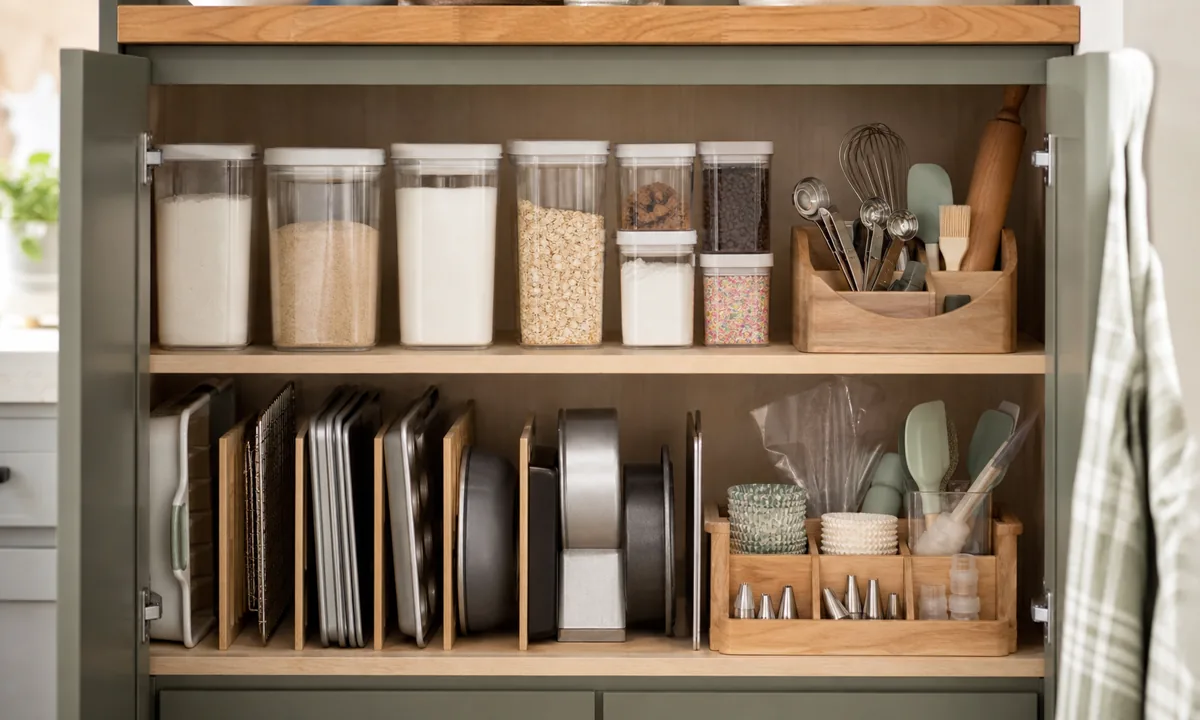
For baking staples (flour, sugar) and dry goods (rice, pasta, oats, coffee), decanting them into airtight canisters serves two critical purposes: you can instantly see how much you have left, and the food stays fresh significantly longer than it would in a ripped cardboard box.
What to look for:
- Airtight Seal: Look for a thick silicone gasket on the lid.
- Stackable Lids: The top of the lid must be completely flat so you can stack a smaller container securely on top of a larger one.
- Consistent Sizing: Buy a unified set so they tessellate perfectly on your shelves.
Expert Picks: The OXO Good Grips POP Containers are widely considered the industry standard by professional organizers, alongside ProKeeper+ sets for baking ingredients.
Crucial Tip: Always write the expiration date on a piece of masking tape and stick it to the bottom of the canister.
3. Lazy Susans (Turntables)
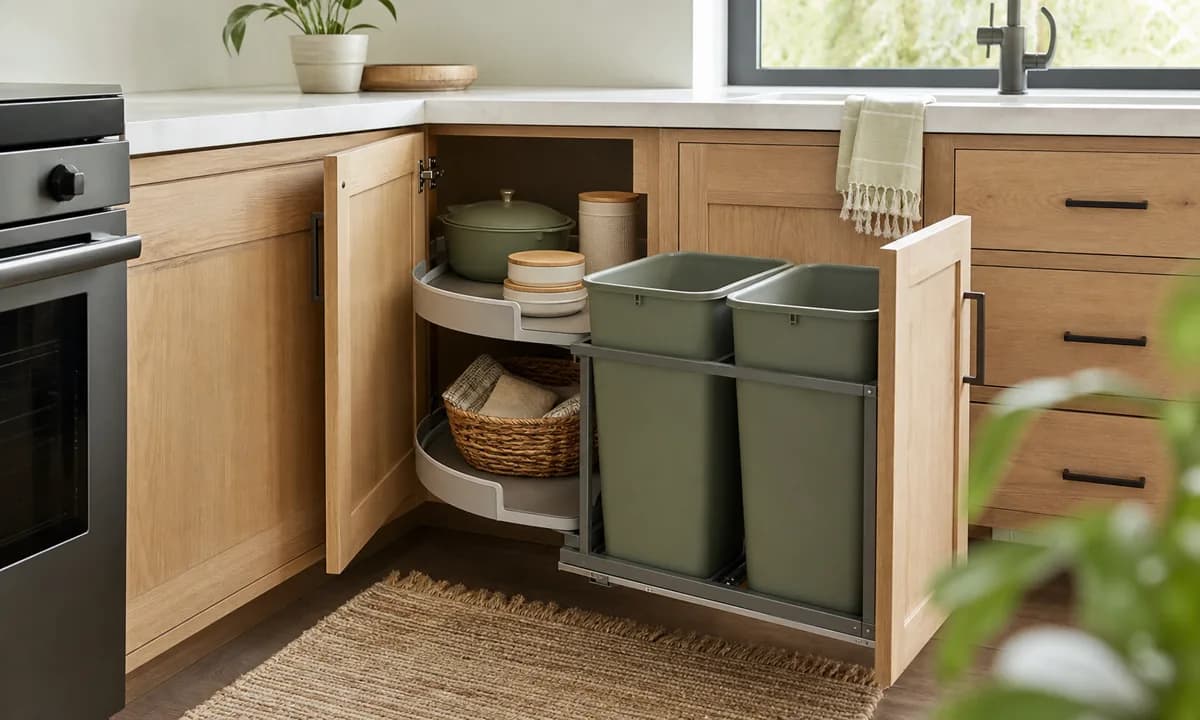
Corner shelves are the darkest, most useless parts of a pantry. A clear acrylic turntable (Lazy Susan) solves this instantly.
By placing your heavy oils, vinegars, soy sauces, and bulky peanut butter jars on a turntable, you get smooth 360-degree access to items that would otherwise be permanently trapped in the back corner. Look for turntables with a slight raised lip to prevent bottles from flying off when spun quickly.
What to Absolutely Skip
Do not waste your money on these common pitfalls:
- Opaque Baskets for Food: As mentioned, they hide your inventory. Use them only on the very floor of the pantry for bulk paper towels.
- Buying Massive Sets Blindly: Do not buy a 40-piece container set before you know what you are organizing. You will end up with 15 tiny containers you don't need. Buy a few large staples first, see if the size fits your shelves, and expand from there.
- Overly Decorative Labels: Custom vinyl cursive labels are beautiful but incredibly hard to update when you swap out ingredients. A simple label maker with bold black text, or a white chalk marker written directly on the plastic, is much more sustainable.
How to Set Up Your Bins
If you want the system to last, follow this order of operations:
- Empty the entire pantry onto the kitchen table.
- Discard anything expired.
- Group the remaining items by strict categories (Baking, Snacks, Breakfast).
- Measure your physical shelf depth and height.
- Purchase bins that maximize those exact dimensions.
- Assign each category to a bin and label the front clearly.
For a complete guide on where to place these bins, read our Ultimate Kitchen & Pantry Organization Guide.
Frequently Asked Questions
Do I need to decant everything in my pantry?
What size bins work best for most standard pantries?
Which is better for pantries: glass or plastic containers?
Join Organized Haven
Get weekly home organization tips, DIY décor ideas, and exclusive printables delivered straight to your inbox. Join 10,000+ homeowners today!
We respect your privacy. Unsubscribe at any time.
Written by Danilo Souza
Danilo Souza is a Home Organization Expert and Interior Decor Specialist with over 8 years of experience in transforming cluttered, stressful rooms into functional, peaceful, and beautifully designed living spaces. His practical, step-by-step methodologies empower homeowners to create lasting organizational systems that fit their lifestyle and budget.