Organizing Pots, Pans, and Baking Sheets

Table of Contents
Why do pots, pans, and baking sheets always end up in a frustrating pile? Because deep lower cabinets reward horizontal stacking—items pile up and the one needed is always at the bottom. The fix is vertical storage: baking sheets and cutting boards stand upright like books in a wire rack, pans sit in individual slots of a tiered rack, and lids live on the back of the cabinet door. Vertical storage means you pull one item without disturbing any others.
Lower kitchen cabinets offer a large amount of cubic storage but poor accessibility. Everything placed at the back requires removing everything at the front. Stacked pots and pans require lifting the whole pile to reach the skillet at the bottom. The result is that cooking—which should be straightforward—starts with a noisy, frustrating excavation.
The solution is changing the orientation of everything stored.
1. File Baking Sheets Vertically
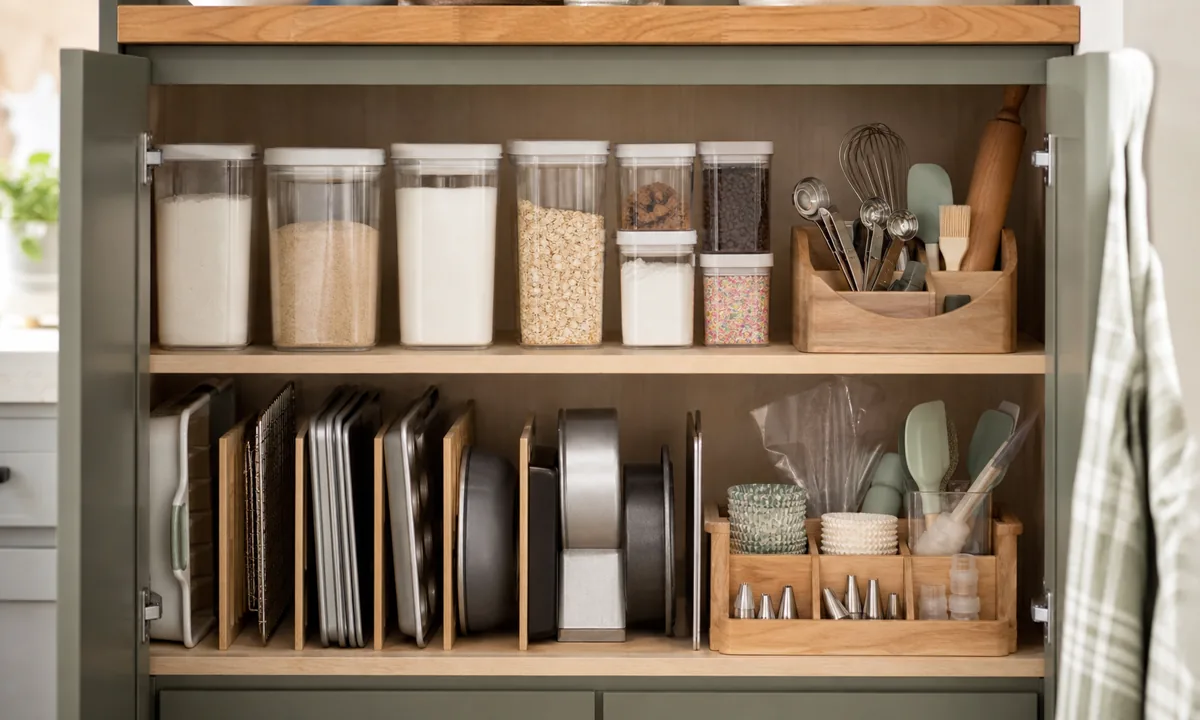
Baking sheets, muffin tins, cutting boards, pizza pans, and cooling racks should never be stacked horizontally. Horizontal stacking creates a heavy, awkward pile where the item needed is reliably at the bottom.
A vertical wire bakeware organizer treats flat sheets the way a filing cabinet treats folders—each one slides out individually from the front without disturbing any others.
Two types of vertical bakeware organizers:
- Wire divider rack: Slots of varying width hold sheets of different depths; works in any wide lower cabinet
- Tension rod dividers: Install 2 to 3 short tension rods vertically between the top and bottom shelves of a standard cabinet to create compartments at no cost
Both methods produce the same result: you see all baking sheets at once, you pull the correct one out from the front with one hand, and nothing else moves.
2. Separate Pans with a Tiered Rack
Stacking frying pans is the fastest way to damage non-stick coatings. The metal base of the pan above scratches the Teflon or ceramic coating of the pan below. After 6 to 12 months of stacking, non-stick performance disappears.
A multi-tiered pan organizer rack provides an individual slot for each pan—the pans never touch each other. You pull the pan you need straight out from the side without lifting a stack.
If you must stack: Place a pan protector (a felt or silicone circle) between each pan. Furniture felt pads cut to circle size work identically to purpose-made pan protectors and cost under $2 for enough material to protect a full set.
3. Get the Lids Off the Shelf
Pot and pan lids cannot stack usefully because their handles prevent them from sitting flat. A pile of lids rattles, falls, and requires removing all lids to reach the one underneath.
Door-mounted lid rack: Install a wire lid rack on the inside of the cabinet door. Lids slide into the wire loops in order of size and hold securely against the door. Opening the cabinet door opens the lid rack simultaneously—everything is visible and accessible without any digging.
Tension rod hack: A short tension rod installed horizontally near the top back of the cabinet creates a rail the lids rest against vertically. Cost: approximately $4 for a standard shower tension rod.
4. Pull-Out Drawers for Deep Cabinets
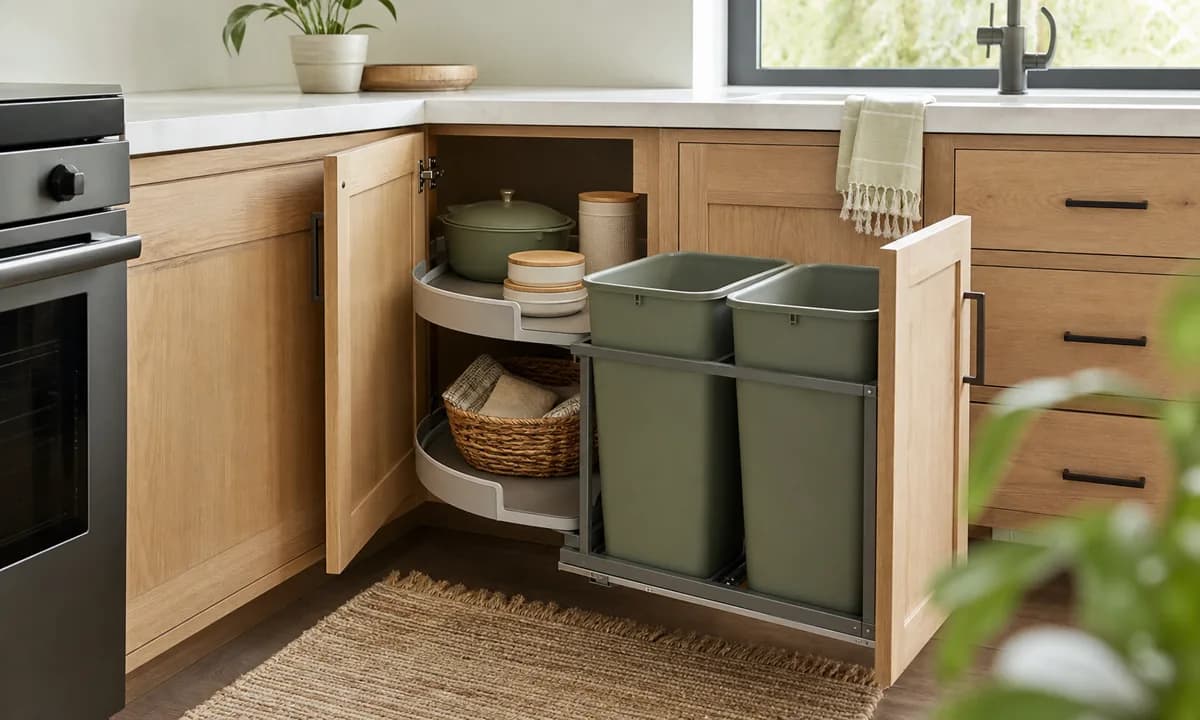
For homeowners, the highest-impact improvement to a lower kitchen cabinet is retrofitting it with a pull-out wood or wire drawer. The drawer slides the full depth of the cabinet out into the kitchen, making items at the back as accessible as items at the front.
Pull-out drawer hardware kits are available at home improvement stores for $15 to $50 per drawer and install with a screwdriver. When the drawer is pulled out, large stockpots and Dutch ovens that are usually invisible in the back corner become fully accessible.
Nesting benefit: With pull-out drawers, large pots can nest (smallest inside largest) more safely because retrieval is easy—you simply pull the drawer out rather than reaching into a dark space.
5. Ceiling Pot Rack for Small Kitchens
When lower cabinet space is at a premium, moving cookware out of the cabinets entirely frees significant space for other storage.
A ceiling-mounted pot rack suspended from two to four heavy-duty hooks into ceiling joists holds the full set of cookware overhead. The cookware is visible, accessible without bending, and occupies zero cabinet space.
The classic alternative is a wall-mounted pegboard in the style of Julia Child's kitchen—a large plywood board painted and mounted to a blank wall, with individual hooks for each pot, pan, and utensil. Every item is visible at once and retrieval requires reaching rather than bending and searching.
For building a pot rack that integrates with a full garage or utility room storage system, see our Best Tool Organization Wall Systems guide for the French cleat and slatwall methods that apply directly.
Frequently Asked Questions
How do you store pots and pans in a small kitchen with very few cabinets?
Is stacking non-stick pans bad for the coating?
How should I store Pyrex and other glass baking dishes?
Join Organized Haven
Get weekly home organization tips, DIY décor ideas, and exclusive printables delivered straight to your inbox. Join 10,000+ homeowners today!
We respect your privacy. Unsubscribe at any time.
Written by Danilo Souza
Danilo Souza is a Home Organization Expert and Interior Decor Specialist with over 8 years of experience in transforming cluttered, stressful rooms into functional, peaceful, and beautifully designed living spaces. His practical, step-by-step methodologies empower homeowners to create lasting organizational systems that fit their lifestyle and budget.