Cable Management for Home Offices
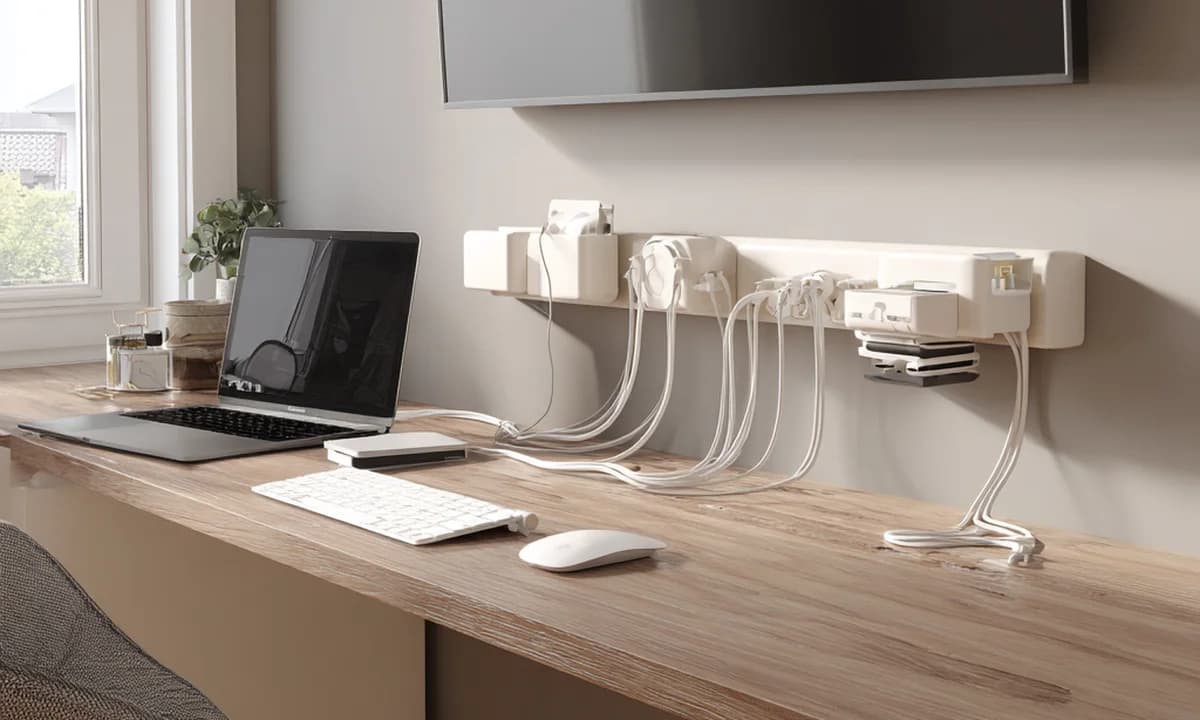
Table of Contents
What is the single most effective cable management step? Mounting the power strip to the underside of the desk. When the power strip lives on the floor, every single cable must drop from desk height to floor level—a visible cascade of wires. When the power strip is mounted under the desk at the back edge, every device plugs in within 6 to 12 inches of where it sits. The cables never reach the floor, and the desk instantly looks clean from any angle.
You can spend significant money on a beautiful desk and still have the setup look chaotic if the cables are not managed. Cord spaghetti hanging from a desk creates visual noise, collects dust at a remarkable rate, and creates floor hazards for feet and pets.
Cable management is a project that takes one to three hours and produces immediate, visible results. Here is the complete sequence.
Step 1: Mount the Power Strip Under the Desk
This is the most impactful single step and should happen first, because it determines the maximum cable length needed for every other device.
Under-desk cable tray: A wire or mesh tray that mounts to the back underside of the desk (two screws, one cable loom through the center) holds the power strip flush against the desk surface. All cables—monitor, computer, desk lamp, speakers—plug in overhead, never reaching the floor.
No-drill alternative: If the desk is glass, metal, or you prefer not to drill, use industrial-strength double-sided mounting tape (3M VHB tape is the standard for this application) to adhere the power strip directly to the underside of the desk. VHB tape holds 15+ pounds per square inch and does not damage most desk surfaces when removed.
Only one cable now needs to travel from the desk to the wall outlet: the main power cord from the surge protector. This is unavoidable but can be managed in Step 3.
Step 2: Bundle with Cable Sleeves
With all devices now plugging into the under-desk power strip, any remaining cables that must travel along a long path get bundled together.
A neoprene cable sleeve with a zipper or velcro seam turns 4 separate cables running the same path—an Ethernet cable, the power cord to the outlet, a USB cable—into one clean tube. Black sleeves against a black desk, white against a white desk. The bundle looks intentional; the individual cables looked like a tangle.
Cut cable sleeves to exact length with scissors. Excess length adds visual noise even inside a sleeve.
Step 3: Manage the Outlet Run
The one cable that must travel from the desk power strip to the wall outlet is usually the most visible. Options for managing it:
Cable raceways: Adhesive plastic channels (sold as "cable raceways" or "cord covers") mount to the wall or baseboard and route the cable inside a slim enclosure that reads as an architectural detail rather than a dangling wire. They come in white, black, and wood-grain finishes and can be painted to match the wall.
Route behind furniture: If the desk is against a wall, tuck the cable between the desk back and the wall surface—it sits in the natural gap and is invisible from the front.
Baseboard management clips: Small adhesive clips secure the cable flat against the baseboard molding, running it low to the floor where it disappears visually.
Step 4: Lock Frequently Disconnected Cables at the Desk Edge
The frustration of plugging in a phone and then watching the cable slide off the back of the desk is a daily occurrence without cable management.
Adhesive cable clips: Silicone cable clips stick to the back or side edge of the desk and hold cables in a flexible grip. Unplug the phone and the cable stays exactly at desk edge, ready for the next use without any searching.
Weighted magnetic cable blocks: A small weight that sits on the desk surface with a magnetic or clamp tip grabs the end of the cable. No adhesive, no surface contact, repositionable. Works particularly well for USB-C and Lightning cables.
Step 5: Glass or Open-Frame Desks
Clear glass and open-frame metal desks have no back surface to hide cables against. Different approach required.
Route all necessary cables tightly down the back of one desk leg using 2-inch black velcro straps every 6 to 8 inches. Running cables flush against the dark metal of the leg makes them essentially invisible at normal viewing angles. Use the thinnest available cable version for anything routed this way—USB-C is considerably slimmer than previous connector types.
For the cables that must cross the desk surface (tablet charger, lamp), a cable management box on the desk top—a rectangular box that hides the surge protector and corrals excess cable length inside it—provides a clean container visible on the surface.
Frequently Asked Questions
How do you hide cables on a glass desk without damaging it?
Is it safe to zip tie computer cables together?
How do you manage cables without drilling?
Join Organized Haven
Get weekly home organization tips, DIY décor ideas, and exclusive printables delivered straight to your inbox. Join 10,000+ homeowners today!
We respect your privacy. Unsubscribe at any time.
Written by Danilo Souza
Danilo Souza is a Home Organization Expert and Interior Decor Specialist with over 8 years of experience in transforming cluttered, stressful rooms into functional, peaceful, and beautifully designed living spaces. His practical, step-by-step methodologies empower homeowners to create lasting organizational systems that fit their lifestyle and budget.