How to Organize a Messy Garage on a Budget
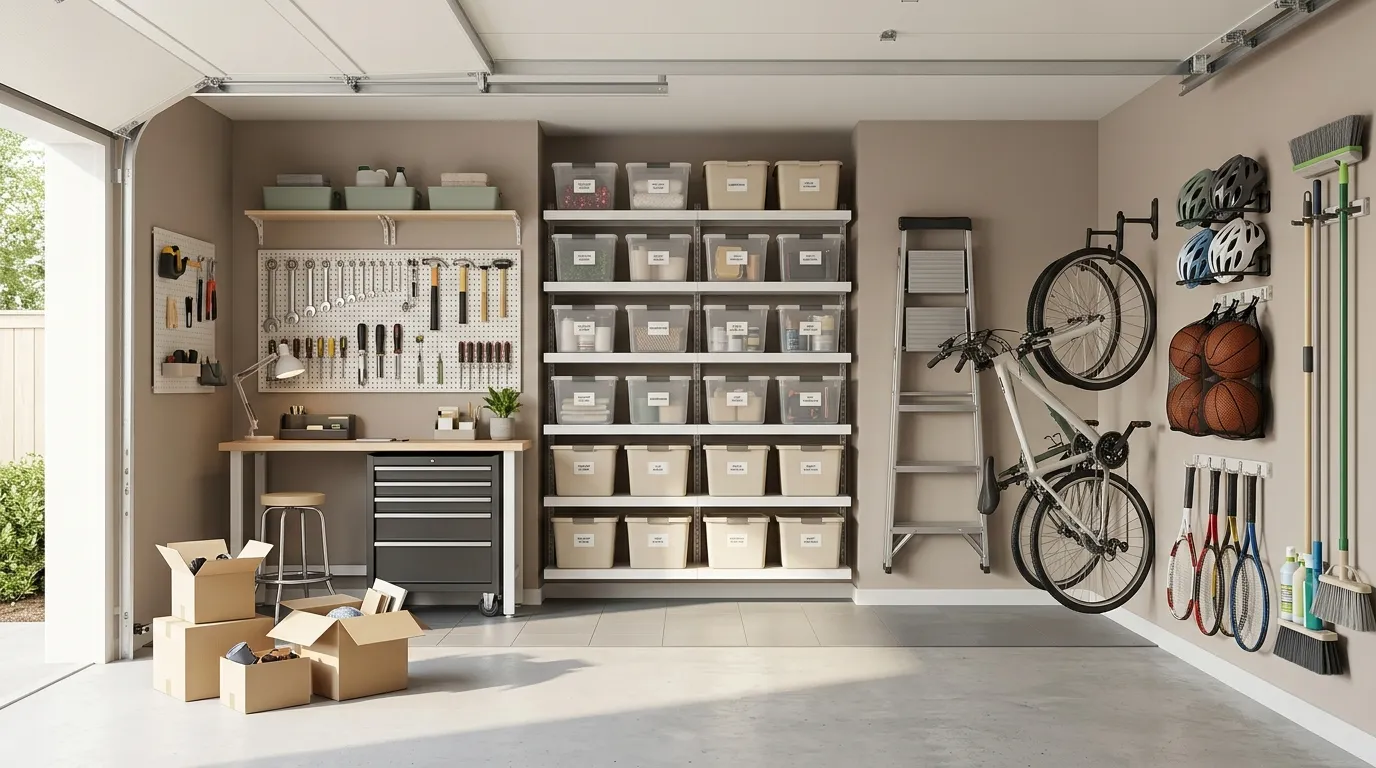
Table of Contents
What is the correct sequence for organizing a garage? Empty everything onto the driveway first—no exceptions. Sort into Keep, Donate, and Trash before anything goes back in. Then assign the garage to five functional zones, move everything vertical using wall shelving and overhead racks, and use labeled plastic bins instead of cardboard boxes. In that order. Doing any of these steps out of sequence wastes time.
For most households, the garage is the final destination of everything that doesn't have a place inside the house. Broken appliances, outgrown bikes, half-empty paint cans, holiday decorations—all of it migrates to the garage to sit indefinitely.
The prospect of dealing with it feels enormous. But the physical task is straightforward once broken into phases. Here is the complete weekend plan.
Phase 1: The Full Emptying (Saturday Morning)
You cannot organize a garage while things are still inside it. Moving boxes from one corner to another is rearranging clutter, not organizing it.
Park the cars on the street and pull everything out onto the driveway. As each item comes out, sort it immediately into one of three groups:
Trash/Recycle: Dried-up paint (check by opening the can—latex paint that has solidified is garbage), broken plastic furniture, rusty tools beyond saving, and anything you have been keeping "just in case" for more than two years.
Donate/Sell: The treadmill used twice, outgrown bikes, camping gear untouched in five years, duplicate tools, and functional items you simply do not need. Facebook Marketplace and Craigslist move sporting equipment and tools quickly.
Keep: Group loosely by category as you pull items out—tools with tools, garden supplies together, sports equipment together.
The purge is the most important phase. Every item you remove is storage you do not have to create.
For the mental framework that makes letting go easier, read our How to Declutter Your Home guide.
Phase 2: Cleaning and Zoning (Saturday Afternoon)
With the garage empty, sweep the floors, knock down cobwebs, and—if you have a pressure washer—run it over the concrete. An hour spent cleaning a blank canvas makes the next phase much more effective.
The 5-Zone Framework
Before anything returns to the garage, mentally divide the walls into five functional zones. Store items where they are used:
| Zone | Location | What Goes Here |
|---|---|---|
| 1. Transition | Door to house | Bulk pantry overflow, dog leashes, muddy boot rack |
| 2. Daily Use & Recycling | Near garage door | Trash and recycling bins, everyday bikes, frequently used tools |
| 3. Workshop / Tools | Side wall | Workbench, power tools, hand tools, hardware |
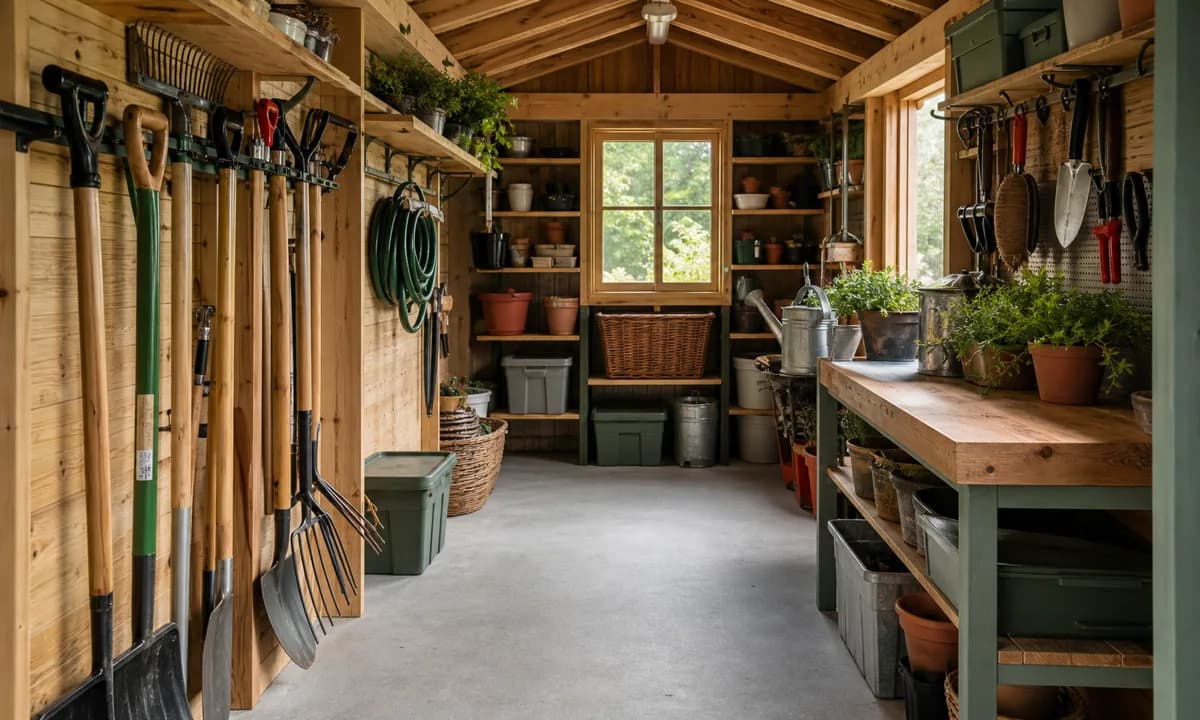
| 4. Yard & Garden | Side wall near door | Lawnmower, rakes, shovels, soil, hoses |
| 5. Deep Storage | High walls and ceiling | Holiday decor, camping gear, childhood keepsakes |
Items used daily go near the exits. Items used once a year go up high.
Phase 3: Vertical and Overhead Storage (Sunday)
To park cars in the garage, the floor must be completely clear. Everything goes vertical.
Wall shelving: Heavy-duty steel wire shelving racks (not the flimsy plastic versions that bow under weight) are the standard for garage walls. Wire shelves do not collect dust the way solid wood does and handle weight from tools and paint cans without flexing. Twin-slot shelving bracket systems from hardware stores like Home Depot or Lowe's are inexpensive and completely adjustable in height.
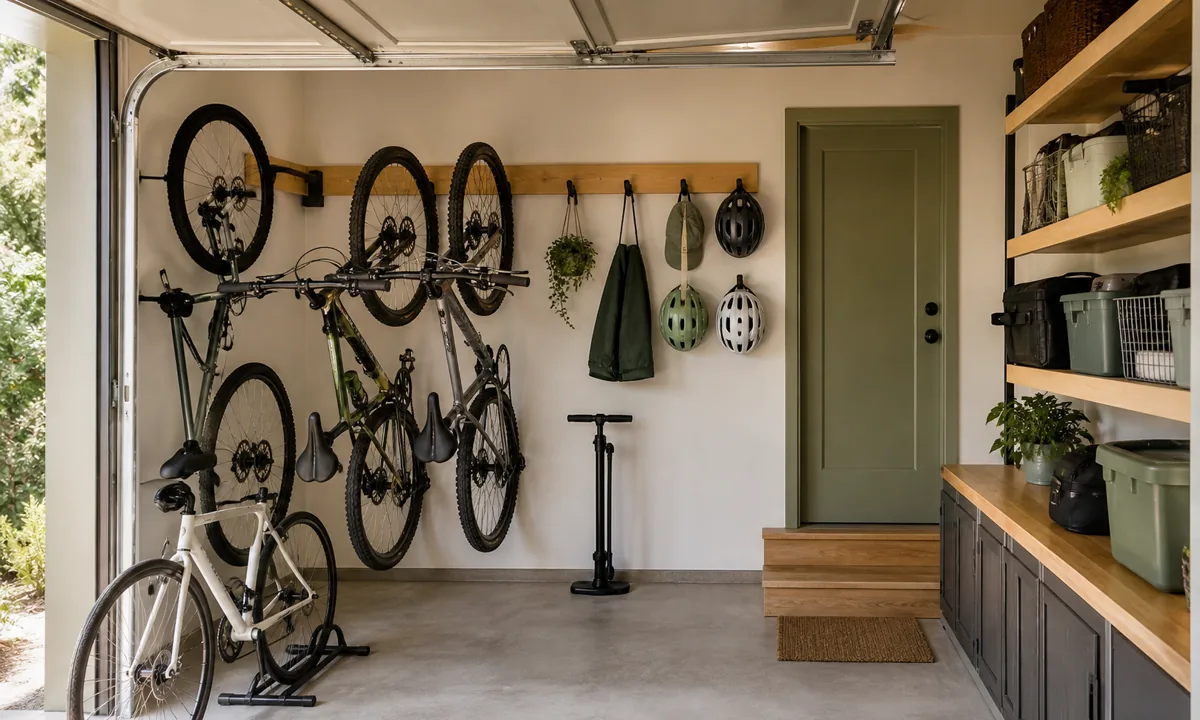
Track systems for large items: A horizontal steel rail system (Rubbermaid FastTrack or similar) screws directly into wall studs and accepts heavy-duty hooks for bikes, ladders, and long-handled yard tools. One rail can hold 750 pounds or more when properly anchored into studs.
Pegboard for tools: A classic pegboard above the workbench remains the cheapest and most visual tool organization available. Fix hooks in place with small plastic pegboard clips so they don't fall out when you remove a tool. For ultimate clarity, trace each tool's silhouette with a marker—the shadow board technique means anyone can return a tool to its correct spot at a glance.
Overhead ceiling racks: The ceiling is the most underutilized storage area in most garages. Heavy-duty ceiling-mounted racks hold large plastic bins of holiday decorations, camping gear, and seasonal items that are accessed only once or twice a year. These must be bolted directly into ceiling joists—never into drywall alone. The Family Handyman's guide on anchoring to ceiling joists covers the installation process clearly.
Phase 4: Containment
Cardboard boxes attract moisture, mold, and pests. They deteriorate within one to two years in a garage environment. Replace all cardboard with:
Heavy-duty plastic totes with latching lids: Clear bins let you see contents at a glance. Opaque bins in different colors can be assigned by holiday (red for Christmas, orange for Halloween) or by category.
Oversized labels: Write exactly what is inside each bin on large painter's tape with a marker, or use a label maker. "Holiday" is not a sufficient label. "Christmas tree lights, ornaments, advent calendars" is.
Phase 5: Hazardous Materials
Garages accumulate chemicals that require specific handling:
Paint: Latex paint freezes and is ruined in unheated garages below 32°F. If the garage is not insulated, store latex paint indoors. Oil-based paint is more cold-tolerant but highly flammable—never store near water heaters or furnaces. Store all paint cans on shelves, never directly on concrete, which causes the cans to rust from below.
Fertilizers, pesticides, auto fluids: Store in a locked metal cabinet if children or pets have access to the garage. Never store in food containers—the risk of accidental ingestion is real and has caused serious injuries.
Frequently Asked Questions
What is the least expensive way to organize a garage?
How do I stop insects and spiders from nesting in garage storage?
What is the best way to store bicycles to save floor space?
Join Organized Haven
Get weekly home organization tips, DIY décor ideas, and exclusive printables delivered straight to your inbox. Join 10,000+ homeowners today!
We respect your privacy. Unsubscribe at any time.
Written by Danilo Souza
Danilo Souza is a Home Organization Expert and Interior Decor Specialist with over 8 years of experience in transforming cluttered, stressful rooms into functional, peaceful, and beautifully designed living spaces. His practical, step-by-step methodologies empower homeowners to create lasting organizational systems that fit their lifestyle and budget.